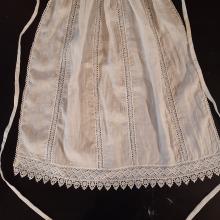
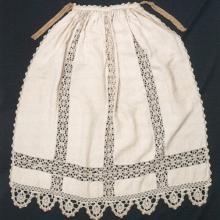
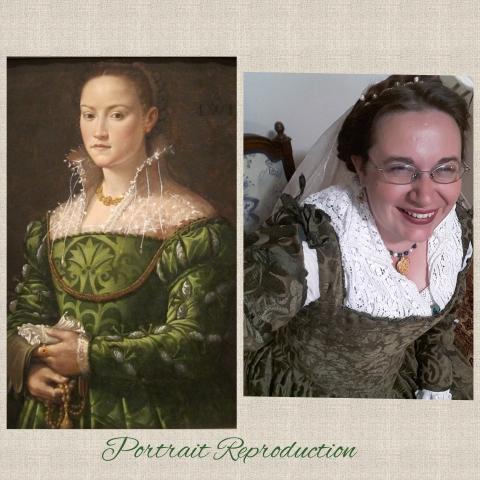
The basic apron style of a rectangle gathered with a waistband has not changed for hundreds of years, and were popular with Italian women during the 16th century. Italians seem to have viewed this as much more utilitarian than other places in Europe where women were sitting in formal portraits with them. Italian women of the upper class only seem to wear them in private. These aprons have lovely embroidery or expensive lace worked into them. My goal in making mine was to continue to expand on my 16th century woman’s toilet, where women wore them to help keep clothing clean while dressing hair and applying cosmetics.
2 ply linen hand sewing thread
Beeswax cake
Sewing needle and pins
Scissors
Iron
Bobbin lace
Narrowest edge 1 ½ yds
Middle insertion 4 ½ yds
Wide band 32 inches
Scallop edge 32 inches
Plain woven linen ¾ yds (approximately)
- I used my scissors to even up my linen pieces. My apron was a stash busting project made with scrap leftover from making underwear over the last few years. I picked a lightweight linen to compliment the fine lace I was going to be using. My strips average 6 inches by 28 inches. There were 2 panels I left wider in the middle for added coverage while applying powder, but all could be the same size as is in the original. I also cut off 2 strips of linen to become apron strings 2 inches by 48 inches.
- Hem the long sides of each panel and 1 short side. I used a Rolled him for my pieces.
- Cut middle insertion lace into 4 equal pieces so you don’t run out of lace mid panel. Cut narrow edge lace in 2 equal pieces.
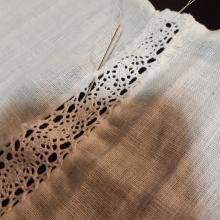
- Apply narrow lace along the long edge of one of your linen panels. I used a running stitch over my rolled hem with the edge of the lace extending past the linen. Do this on another panel to mirror the first side done. I find it helpful to pin the lace to the linen as I work.
- Take the middle lace and one of the edged panels. Pin lace over the rolled him on the opposite side. Tack lace down to seam through the picots (edge points). Follow this process to attach each panel and middle insertion band ending with the panel that mirrors the first with edging lace. Hem insertion lace as you work.
- Take the wide band of lace and scallop edge and carefully whip stitch these together along the long edge to create your decorative bottom band. Make sure the hem your shorter ends.
- Attach the lace band across the finished bottom edge of the apron using the same technique as with the insertion lace. The more invisible your stitching the greater the effect.
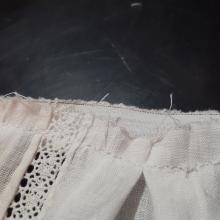
- Run, even, gathering stitches across the raw edge of the apron and gather to your chosen width. I personally liked 14 inches.
- Create apron strings by attaching the two linen strips together with a back stitch and finger press seam open. I double folded linen to create a strip ½ inch wide and whip stitched the bottom edge leaving a 14 inch gap in the middle to act as a binding for the top of the apron. Ironing the linen strip will make this process easier.
- Bind off the top of the apron gathers in the opening.I stitched apron to strings with a back stitch and then a felling stitch to close the binding.
- Press and spin around in your new pretty apron!
Crowfoot, Elisabeth and Frances Prichard and Kay Staniland. Textiles and Clothing 1150-1450. 2012. ISBN 978-1-84383-29-3
Landini, Roberta Orsi and Bruna Niccoli. Moda a Firenze 1540-1580. 2005.
ISBN 88-8304-867-9
Wake, Anabelle. Extant Aprons. http://realmofvenus.renaissanceitaly.net/workbox/extapr.htm.Accessed 1 April 2020

