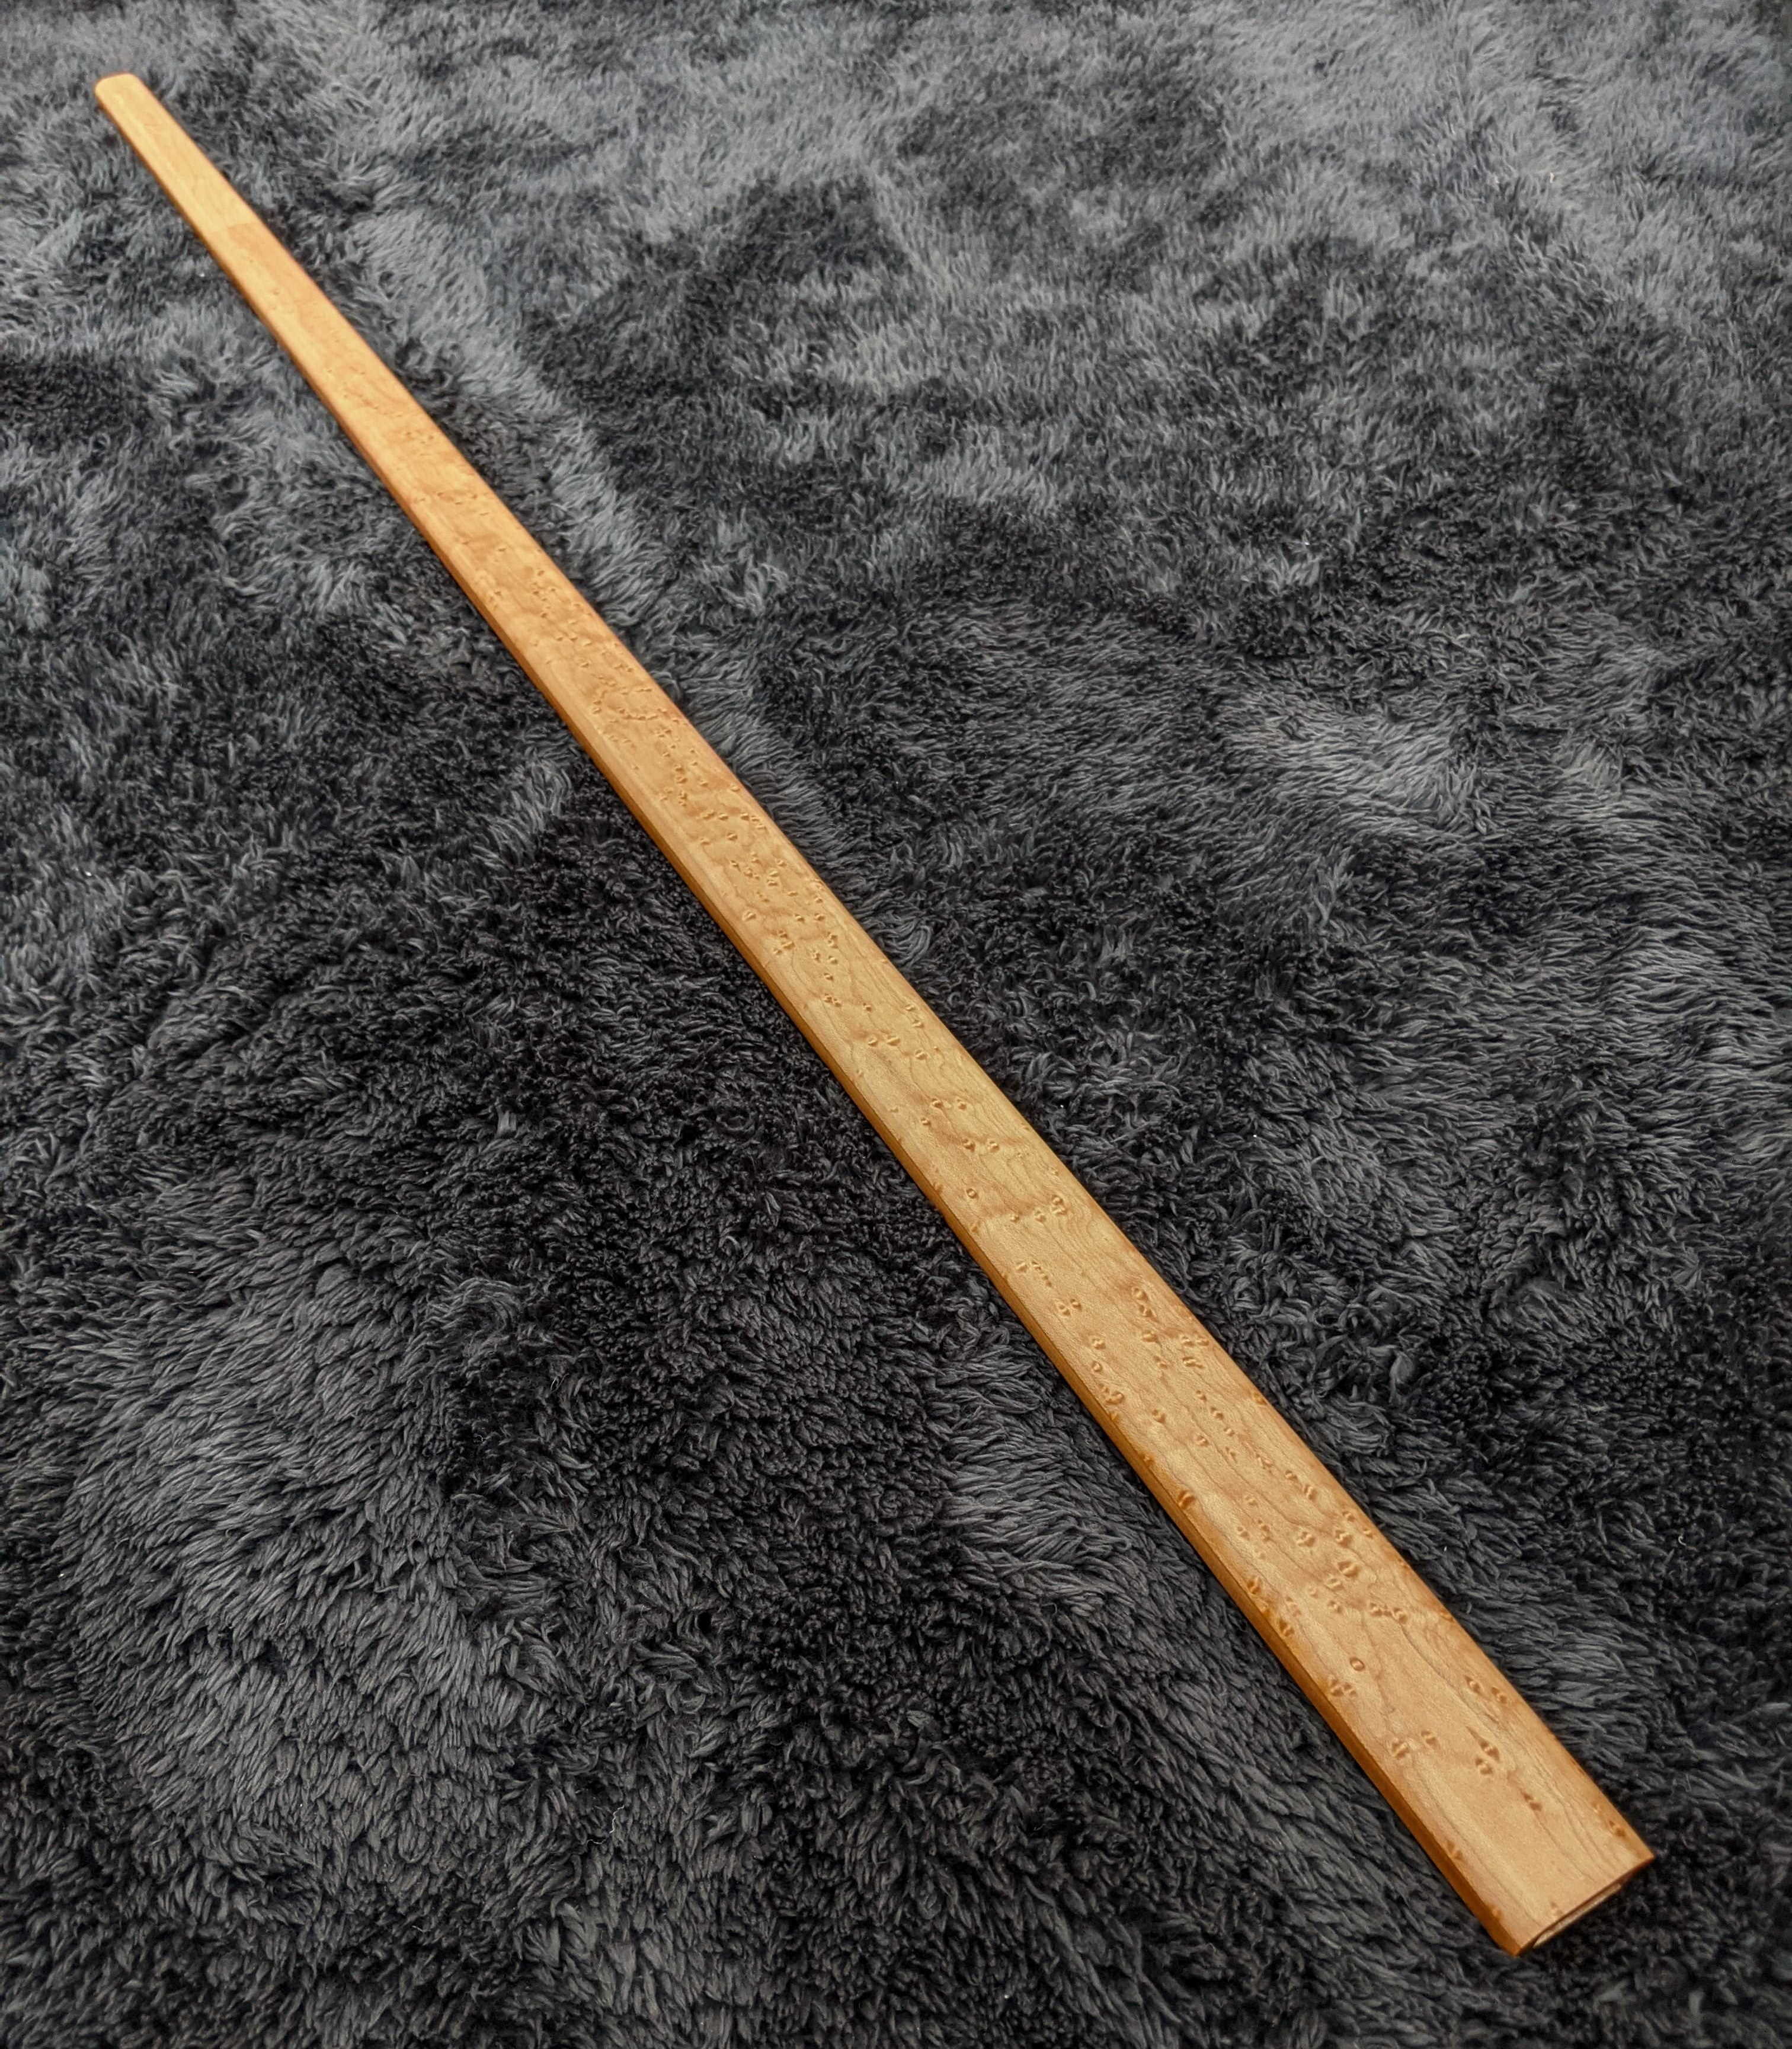
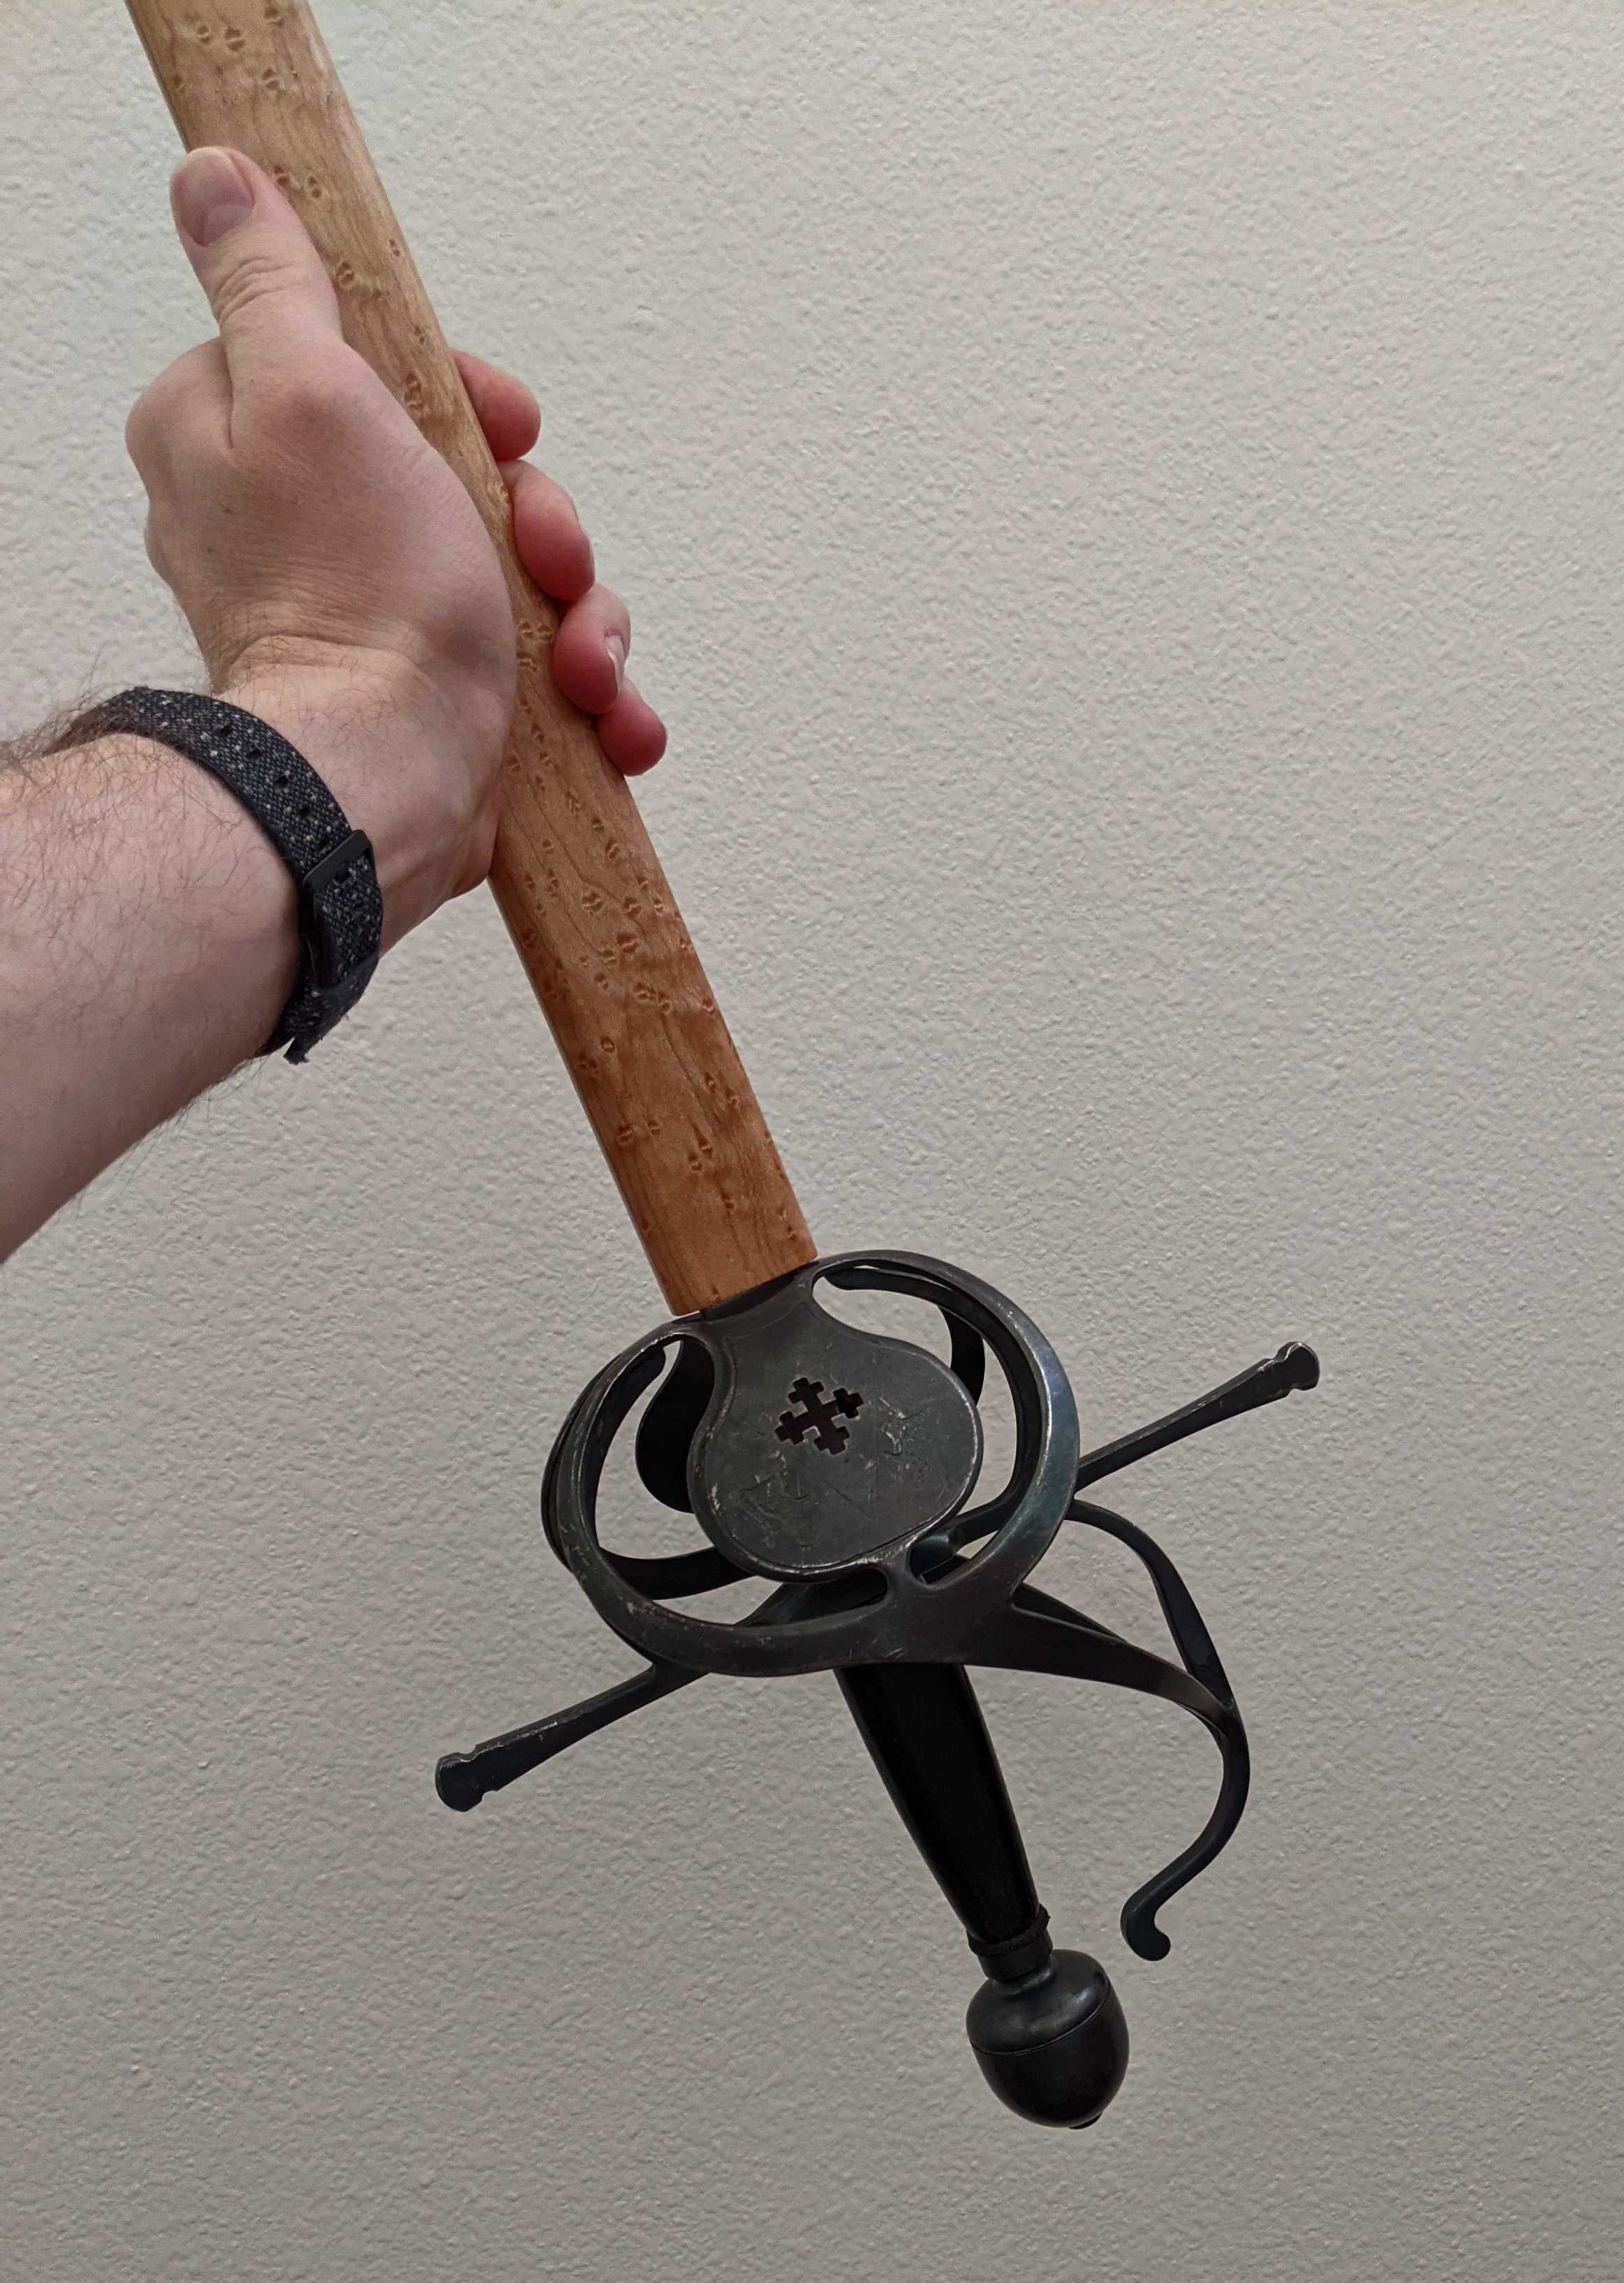
Scabbards have been used to hold swords and knives for centuries. They have been made from materials ranging from leather, cloth, wood, or metal (often combinations of these). The most popular were leather and wood. I make my scabbards out of just wood, since I love the look of fine woods.
Tools:
Table saw, thickness planer, benchtop belt sander, router with straight and round over bits, chisels, files, and sandpaper.
Materials:
Birds-eye Maple, x2 48" x 1 3/4" x 1/2" lengths
Cherry, x1 48" x 1 3/4" x 1/2" length
Titebond II wood glue & 5 minute epoxy
Wood clamps
Minwax Tung Oil Finish & Minwax Clear Semi-Gloss Polyurethane
Sheep Skin
The cherry inner layer was reduced in thickness (using the planer) to about an eighth of an inch of the maximum thickness of the rapier. This was glued (using Titebond II) to one length of birds-eye maple, clamped every few inches, and allowed to dry. Then, based on the calculations of the rapier thicknesses and widths, a channel was cut into the cherry layer (using the router and straight bits). The channel was cut thinner and narrower near the tip and tapers in depth and width as it gets nearer the end of the scabbard. After cleaning up the router channel with chisels, the other length of birds-eye maple was clamped and glued using the same methods as before. The whole scabbard was thinned down to nearly the final thickness using the planner.
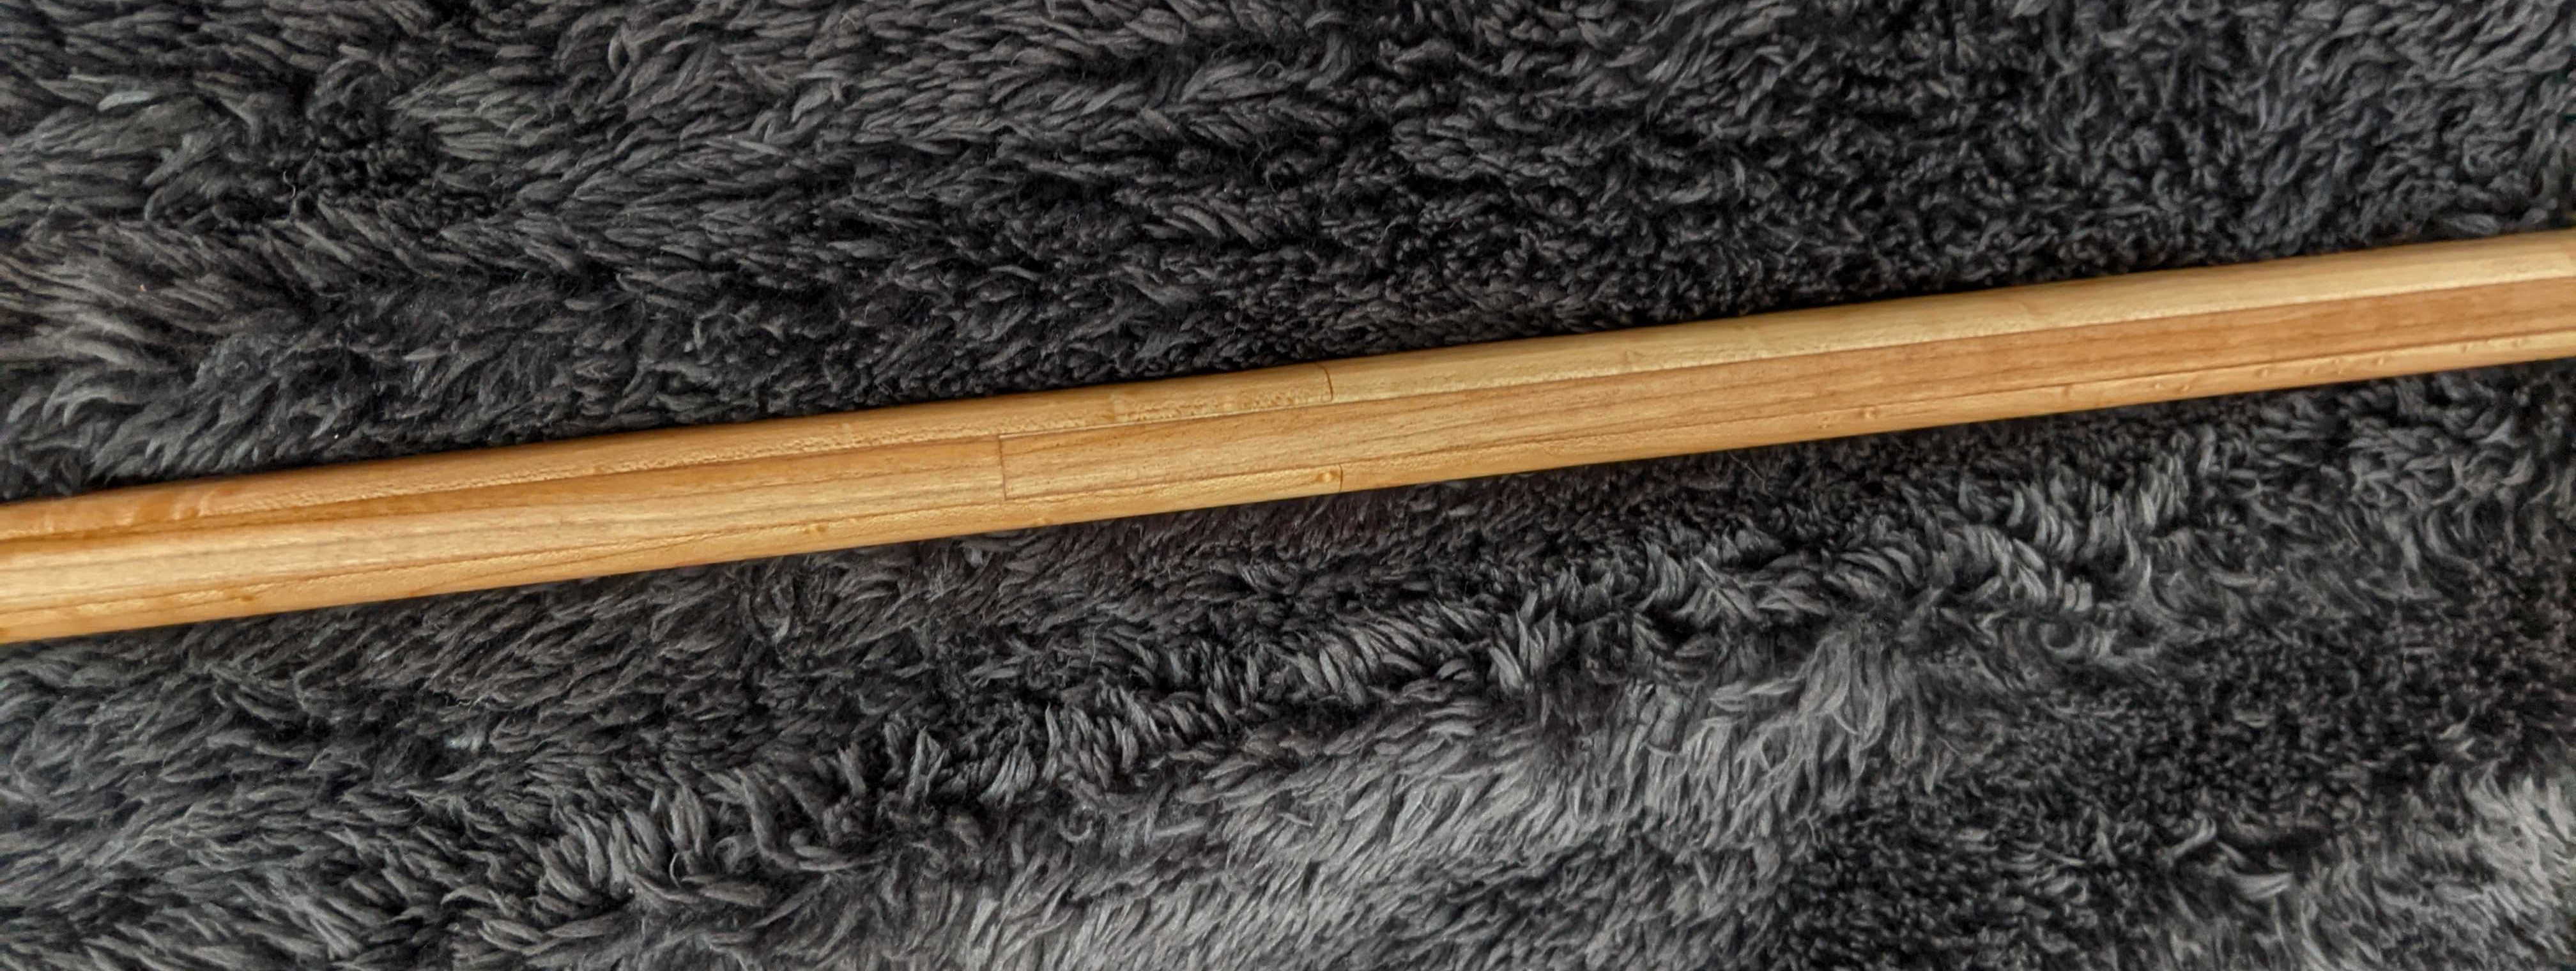
I ran into a snag at this point. I measured the final length of the scabbard incorrectly and cut off too much, which exposed the point of the rapier by about 6". To repair this, I removed the top layer of the birds-eye maple (using the router) exposing the cherry layer on the bottom part of the scabbard. On the main part of the scabbard, I removed the top birds-eye maple and cherry layers. After cleaning up the router marks with chisels, I glued the bottom part of the scabbard to the top (using a half lap joint), chiseled out a new 6" channel to fit the tip of the rapier, and glued another top piece of birds-eye maple.
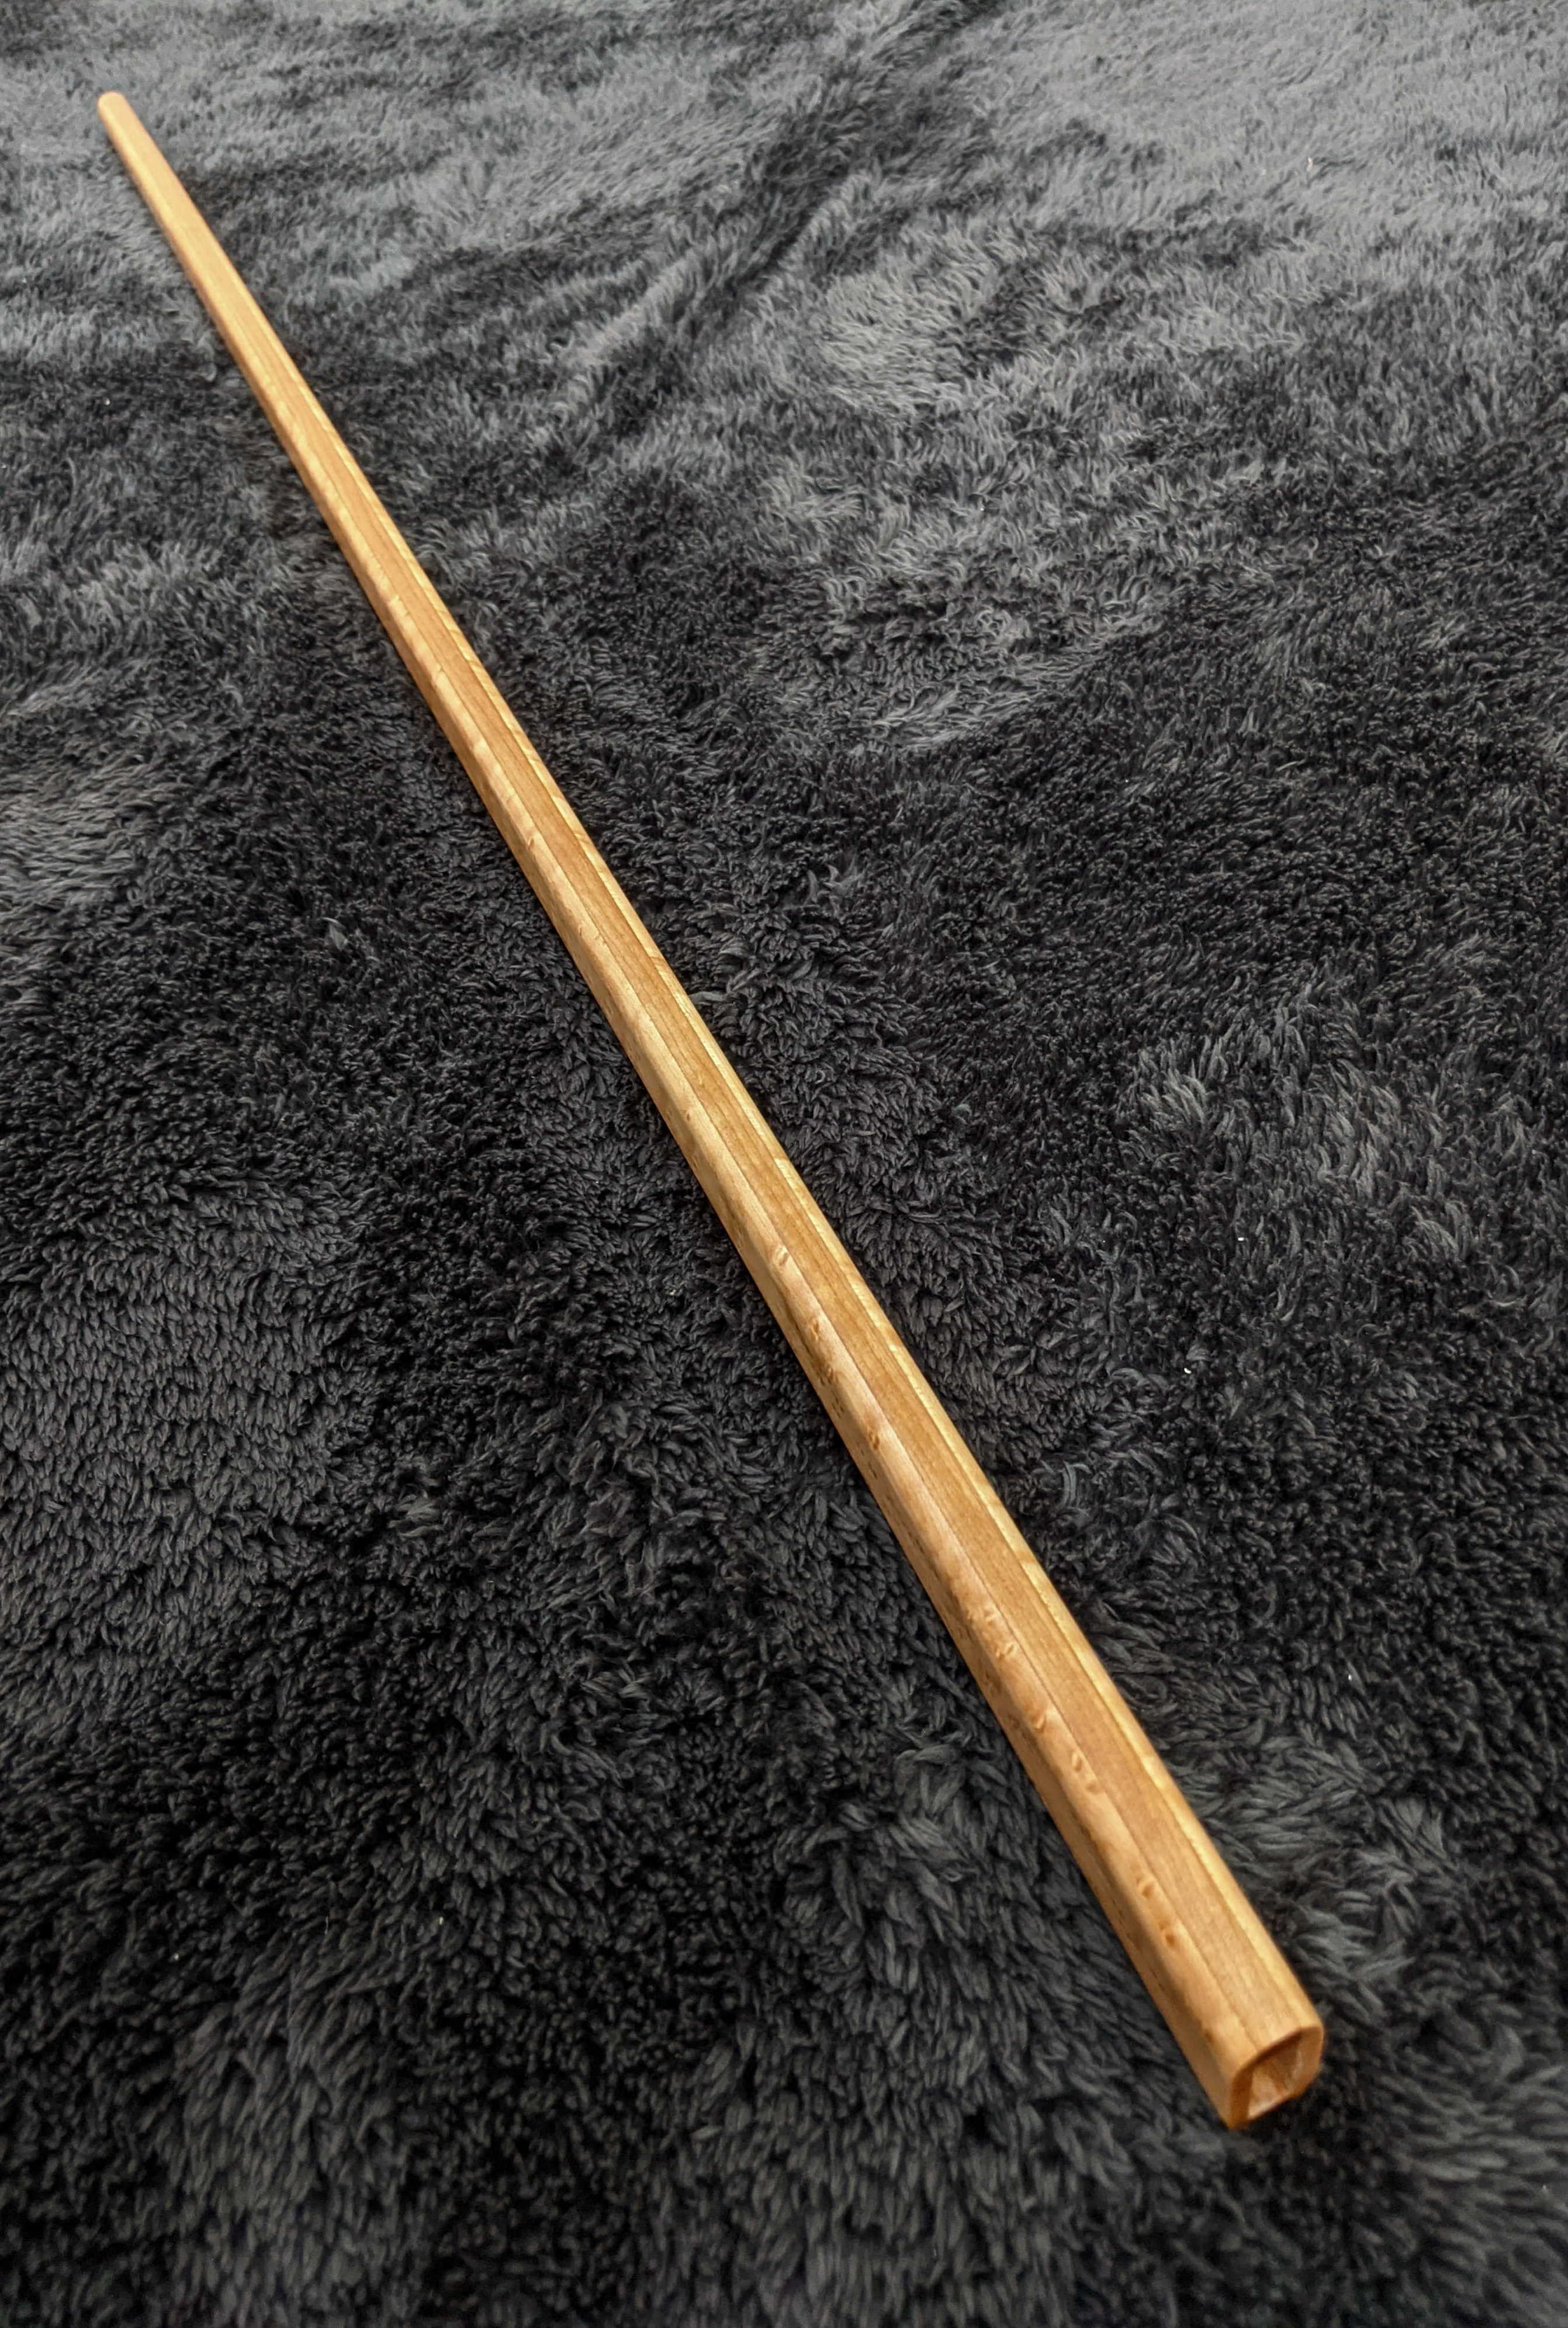
For final shaping, using a benchtop belt sander and the router (with a round over bit) to taper the scabbard in height and width.
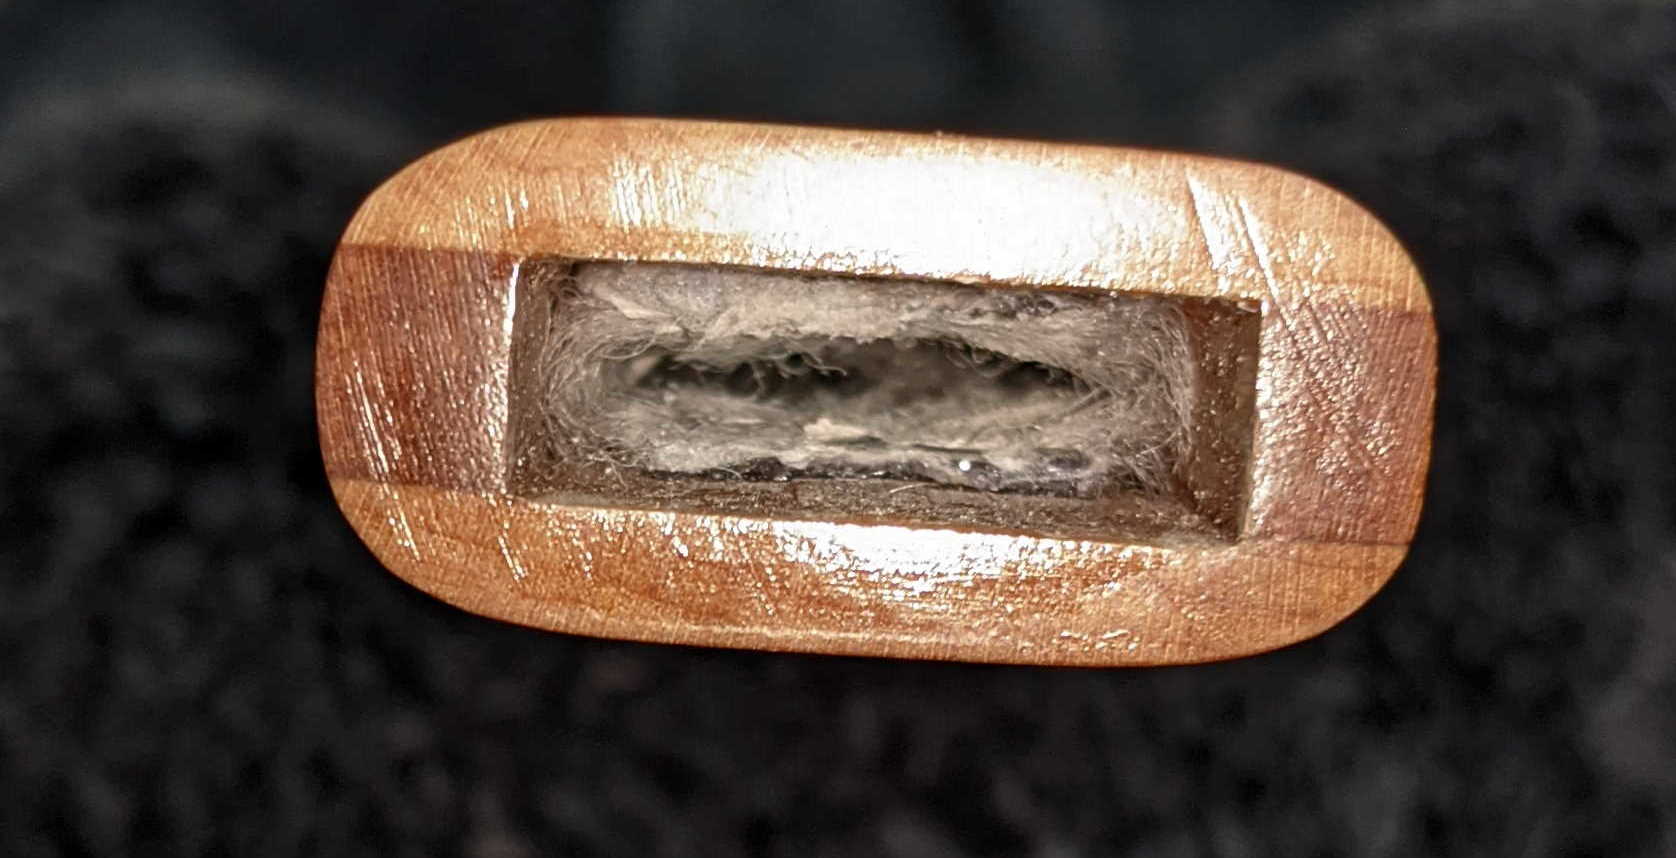
Two small sections of sheep skin were glued (using epoxy) into the inside of the scabbard. The grain of the sheep wool was place directed inward. This allows the rapier to slide in easily and keeps it snug in the scabbard (it can even be held upside down without falling out).
After finish sanding, 3 layers of tung oil finish was used to bring out the natural grain of the wood and 3 layers of semi-gloss polyurethane to protect the scabbard from damage.
Encyclopedia of Wood Joints by Wolfram Graubner (1992)